Pressing
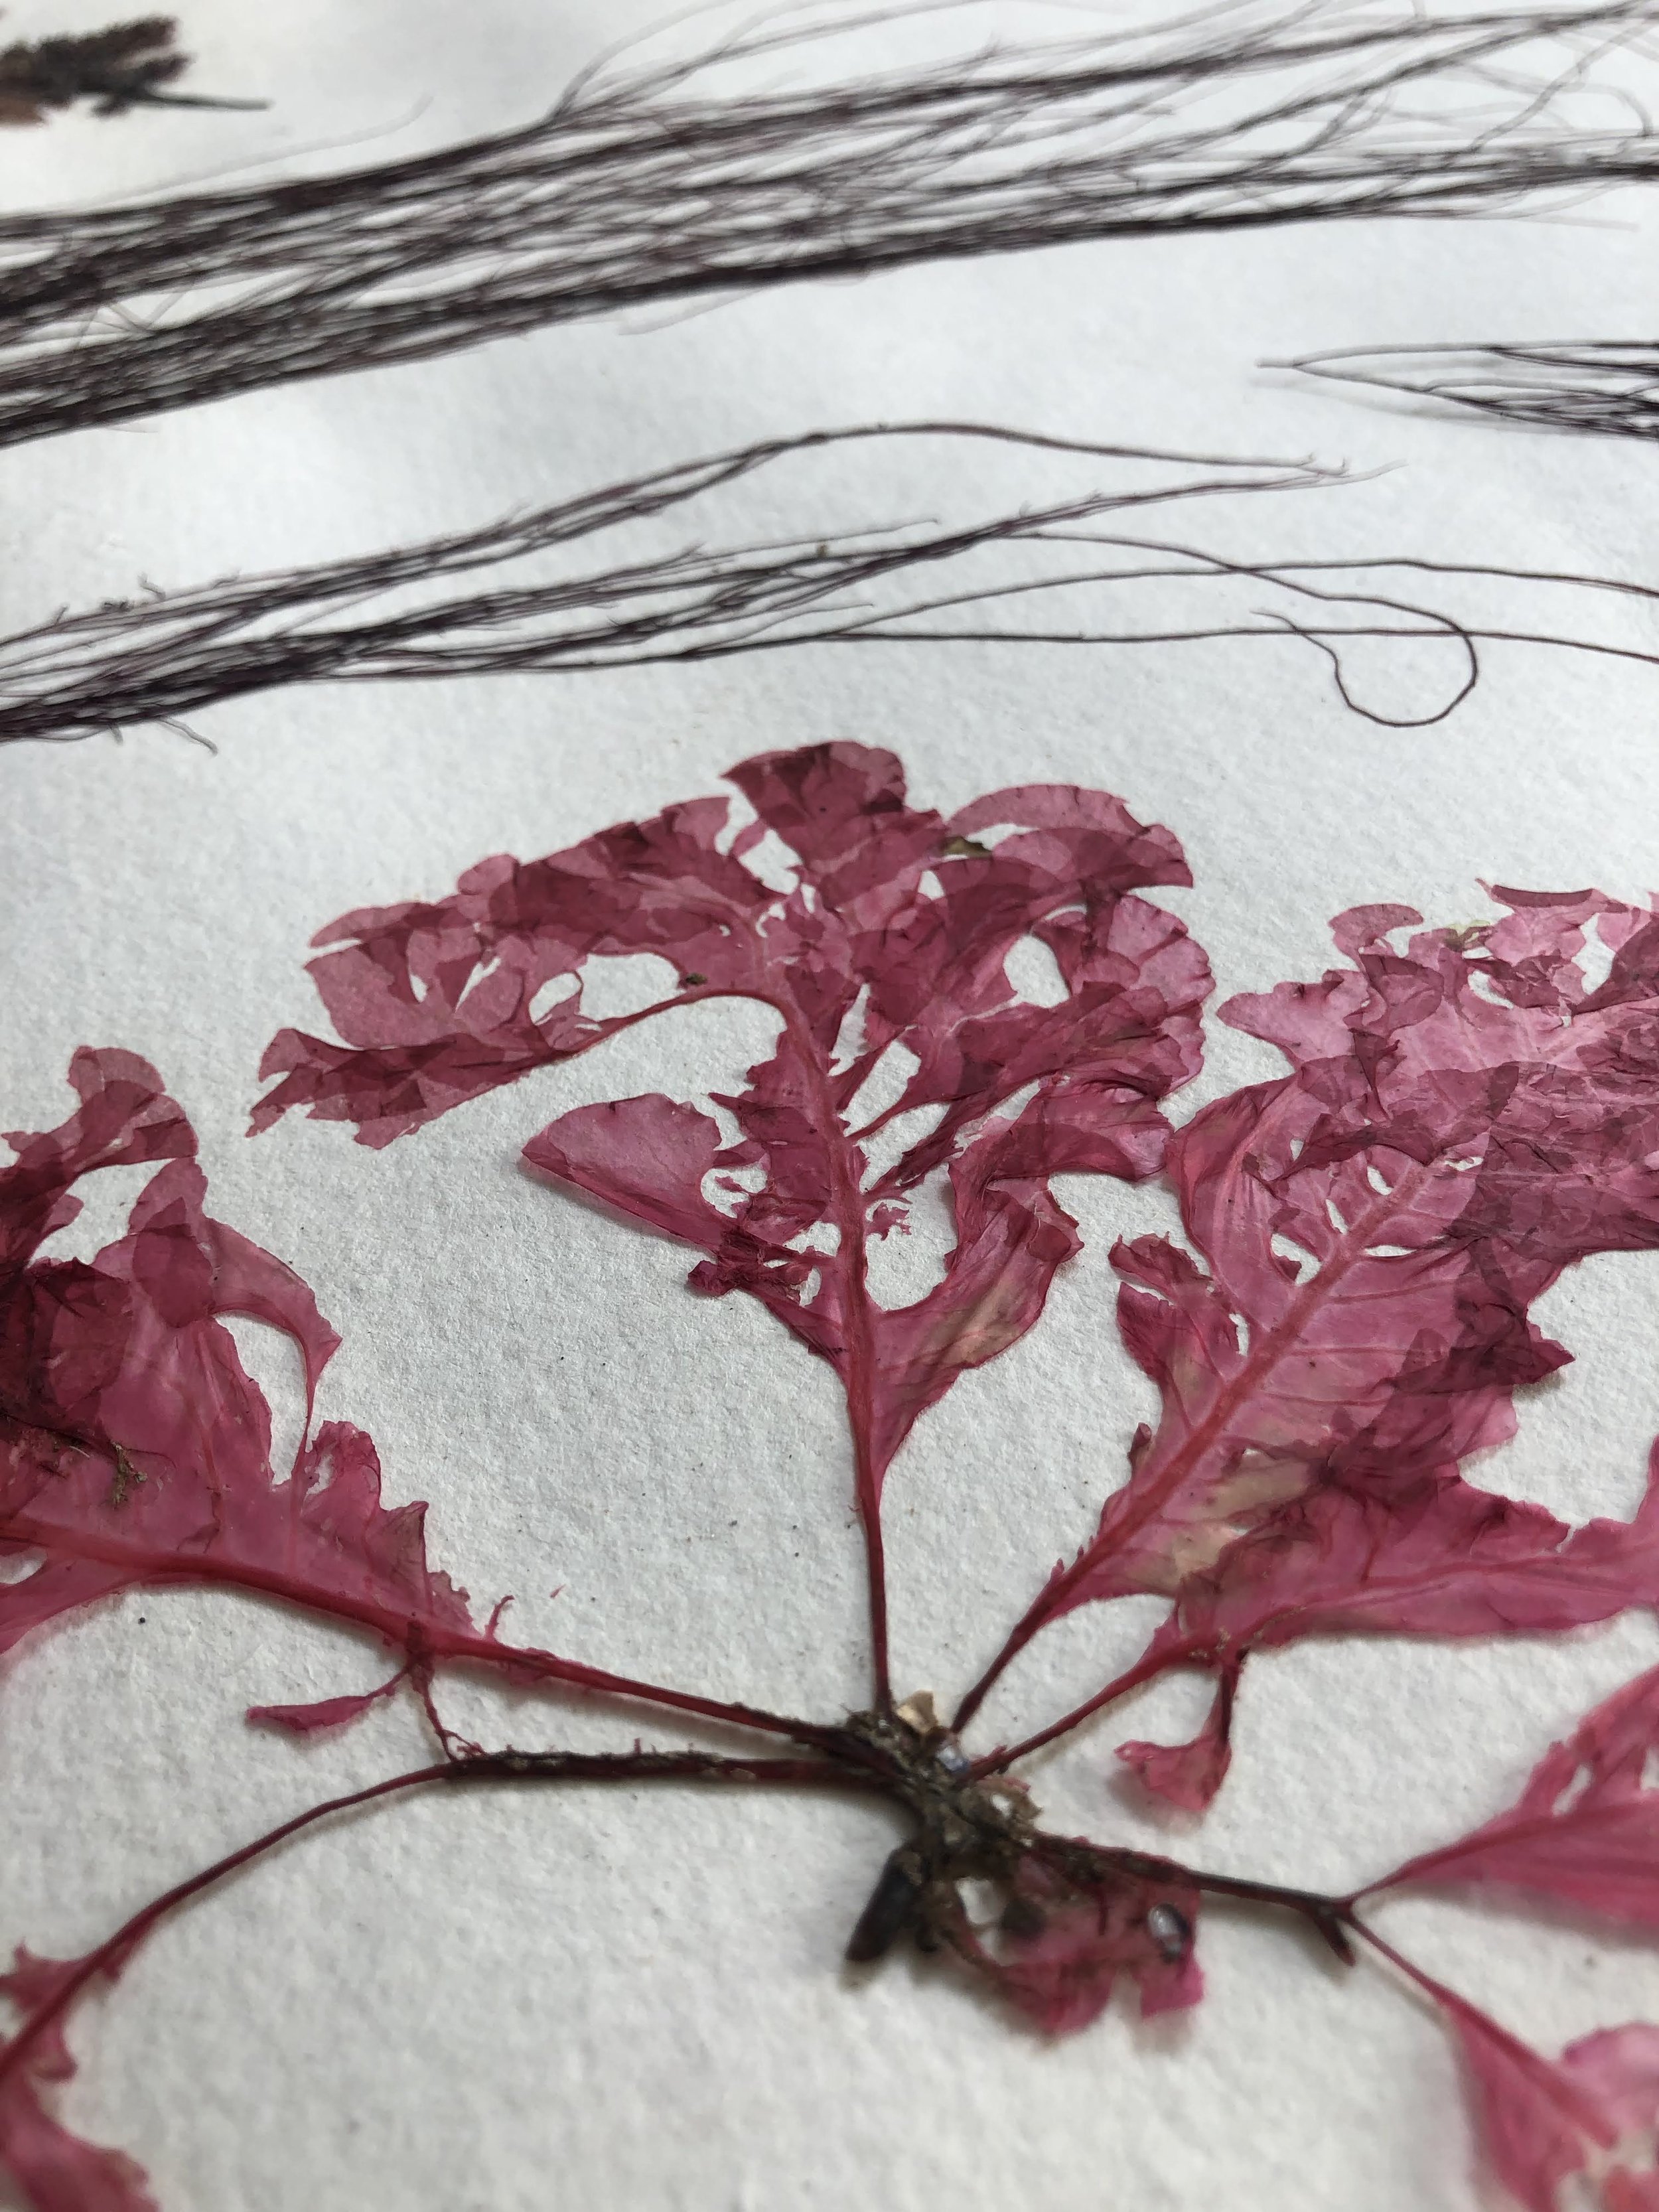
Pressing and drying seaweed captures the beautiful colours and shapes
Pressed seaweed, collected from a Borth beach puddle
A variety of seaweeds collected from Borth rockpools, pressed onto mounting board. These are now all faded as I left them in the sunlight…
200 years ago women were discouraged to study onshore plants as their sexually explicit nature could unhinge the daintiest of ladies.
So instead they retreated to the mysterious underworld of seaweeds, where no man would dare venture, and where all manners of mischief could be played out.
It became a popular pastime among women, including Queen Victoria, who would often go on coastal excursions to gather different types of seaweed and then press them into albums to be studied and admired.
Here’s a quick guide on how to press seaweeds:
Collect a variety of seaweeds in interesting shapes and colours. Be careful not to take too much from one place.
Wash off sand and cute little creatures. Keep the seaweed moist until you get back home.
Fill a deep baking tray or similar with fresh water.
Submerge some heavy paper (watercolour paper is ideal) into the tray.
Place the seaweed into the tray and let it spread and swirl about again.
When you’re happy with the placing, very gently and slowly lift the paper out of the water.
You can use a small paintbrush or tweezers to rearrange and cut off any unwanted bits.
Make a lasagne in this order: cardboard - newspapers - your watercolour paper with seaweed - baking paper - more newspapers - cardboard - extra cardboard at the end.
Top the layers with heavy books or stones, keep in a dry, warm place and check daily, changing any newspaper that’s damp.
Your pressings should be ready in a few days, longer if you’re using thick kelps. Seaweed will naturally stick to the paper using their alginates, but you might need to glue/tape a few down.
Top tip - don’t put the final pressings in direct sunlight - they’ll lose their colour. Or in damp places as they’ll reabsorb the water.
More from this category


